Want salon-perfect nails without the hassle or expense of a salon visit? Learning how to remove dip nails at home is easier than you think. With the right tools and a few simple steps, you can safely take off your dip powder manicure, protect your natural nails, and keep your hands looking their best, all from the comfort of your home. This guide will walk you through everything you need to know, from essential supplies to expert aftercare tips, so you can confidently remove dip nails whenever you need a refresh.
What Do You Mean by Dip Powder Nails?
Before learning how to remove dip nails at home, it is crucial to understand their real meaning. This type of nail lies somewhere between a typical manicure and an artificial acrylic nail. According to celebrity manicurist Erica Marton, we consider dip powder nails as ‘diet acrylic’.
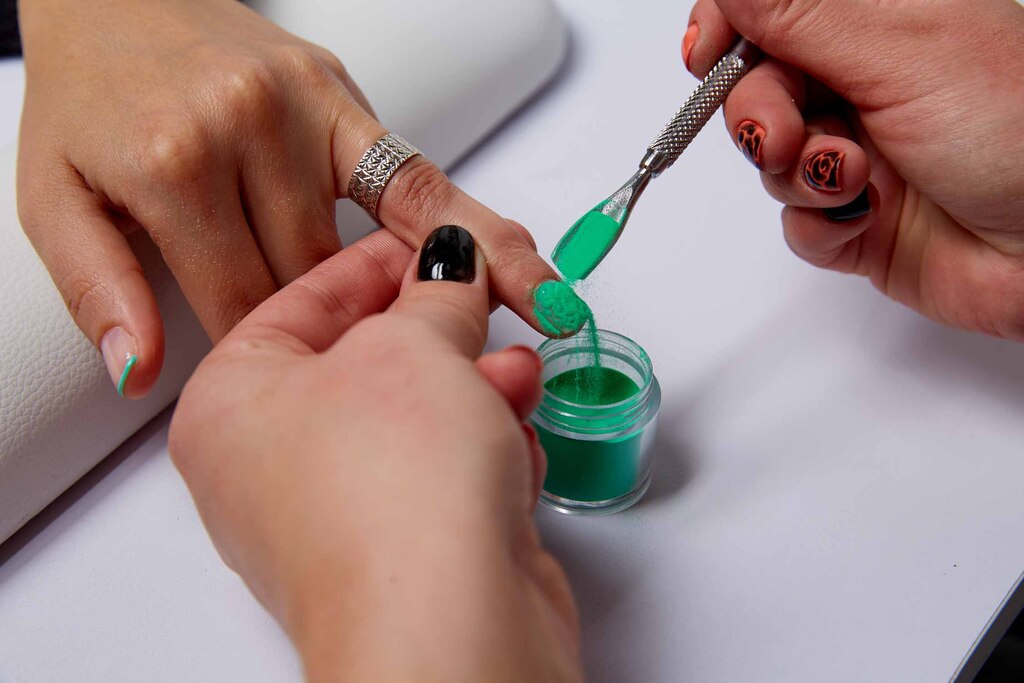
When creating dip powder nails, in between the base coat activator and a sealant in the topcoat, you have to dip your nails into cute little jars with the powders of your chosen color. Usually, people choose one color, but if you want a more vibrant look, you can combine contrasting colors. This kind of manicure would probably last for three to four weeks.
The trend for dip powder nails has been around for years. But nowadays, social media prefers this process more and quickly popularizes it. A wide range of nail salons has started offering dip powder nails in most salons. Haven’t you tried it yet? Then check it out now! Rest you can understand comprehensively how to remove dip nails by reading further.
What are the Advantages of Dip Nails?

Dip nails are versatile among all. They bring the best of two worlds; dip nails are sturdy and durable as acrylics and look natural and soothing as gels. Below are some of the biggest advantages of dip nails:
- They are quite long-lasting. This kind of dip nail will last about one month if you wear it normally.
- Dip nails are sober, soft, and gentle on your nails when compared to acrylic nails.
- Dip nails are one of the easiest nail options that you should do at home.
- You can find a variety of nail colors in dip powders.
What are the Tools You Need for Removing Dip Powder?

If you frequently do gel manicures or any other conventional type of DIY manicure at home, you must already have some basic tools. Right? In case you don’t have an in-detail idea about it, here are some of the common ones you should have:
- Nail Buffer
- Nail Clippers
- Two-sided file with two grits
- A nail Buffer
- Impure Acetone
- An orange stick
- A small bowl
- A metal cuticle pusher
If you want to know how to get dip nails off at home, you must first start with a small area near your window or fan. As you will have strong acetone fumes when removing dip nails, it can create suffocation if there is no proper ventilation. Moreover, ensure you are covering the table or surface with a towel you are using to prevent any stains or scratches while removing dip nails at home.
Is it Worth Trying Dip Powder Nails?

If you love permanent manicure solutions, dip powder nails are one of the best options. They are available in both gels and acrylics that are there in the market now. You need to make sure that you are checking out whether the packaging is fine and asking your manicurist what brand they are using.
Another important thing you should consider is the finishing you want for your nails. If you opt for gel-based manicures, it will look like you have applied traditional nail polish. This kind of dip powder nail works well in the case of nail art designs. But when it comes to dipping nails, it will have a thicker look on your nails. They will look simply great in solid colors and ombre finishes.
How to Get Dip Nails Off at Home?

Taking dip nails off at home, all by yourself, is a detailed process. You need to be organized enough to ensure that all the steps are taken effectively. Let’s explore the step-by-step guide now:
Step 1. Cut and File Your Nails

If you have some added length to your nails from the dip powder, remove the nail clippers and cut the extension down to your desired size. An LA-based nail artist who is well-known by the name of Ashlie Johnson, says that this is a great trick for accelerating the process of removing dip nails.
Now, you need to use the coarse side of your nail filing tool to remove the seal, the shimmery topcoat that you have in your dip manicure. You should buff out to do this step. If the layers of your dip powder are thinner at this stage, you will have less time to keep your fingers soaked later on.
Step 2. Keep Your Nails Soaked in an Acetone Bath

Before you dip your nails in the acetone solution, you should rub some petroleum jelly on your fingertips and into your cuticles. This will avoid your nail bed and will prevent the skin surrounding your nails from drying out.
The next step should be to pour some acetone solution into a bowl and place both of your hands inside it. All your nails need to be fully submerged. To ensure that the dip powder loosens up, you should soak your nails for 10 to 20 minutes in the solution. When you see the dip flaking off easily, it is a good indicator that the process is done. If it doesn’t happen, you should soak your nails in the same solution for five to seven more minutes. You need to remember that you are being patient while removing dip nails.
Now, if you plan to remove dip nails without any acetone stain in them, you can’t do it directly. Rather, you should file the product off. However, it is very time-consuming and comes with a huge risk of over-filing and a damaged nail plate.
You might read on the Internet that it’s possible to do so but don’t believe it. The natural ingredients of distilled white vinegar and olive oil can’t break down dip powder. If you want to ignore acetone, you should visit a good nail salon and ask them to use an e-file safely.
Step 3. Push Away the Dip Off Your Nails

When the dip starts loosening and reneging, you need to take an orangewood stick or metal pusher to scrape off the polish gently; begin from the cuticle area and go up to the end of your nail. Ideally, you should be able to remove the dip without a lot of pressure on your nails.
Step 4. Buff Out and Shape Your Nails

If you have small pieces of polish remaining in your nails after the third step, don’t worry. Just take out your buffer and give a gentle rub. Moreover, if you do buffing, it will also even tone the texture of your nails and create a smooth finish.
If your nails’ shape is jagged and uneven, take out your nail file and create the shape you want. But keep the length on the shorter side, especially if your nails are weaker. According to experts, buffing and shaping is the perfect way to prevent damaged nails from further breaking or splitting.
Step 5. Hydrate Your Nails and Massage Gently

Lastly, you want to replace all the moisture you have just lost from your nails because of the above steps. Your nails and skin might have dehydrated due to soaking into acetone and rigorous filing. So, you should now rely on your hand creams and skin oils, which are super moisturizing! Ensure the lotion or ointment used for massaging is hydrating enough and water-based.
Step 6. Let Your Hands Dry Off

After you are done massaging your hands after removing dip nails, you should let your hands dry in the air before touching or holding anything. This will help the moisture to seep in. Though this step might not seem to be crucial for you as it’s the last one. But in reality, it is one of the most critical ones! If you don’t allow your hands to absorb the moisture after removing dip nails, you will suffer from dryness in your hands in the long run. So, there should be at least a 30 minutes gap between the time after you have moisturized your hands and you are back to your normal work.
Over to You
So, have you got a clear idea about removing dip nails? What are you waiting for?
Get the best dip powder-based manicure and remove the dip nails perfectly when their look starts wearing out. This was all about how to remove dip nails. We have the latest collection of blogs and articles on the Fashion and Beauty niche which talk about everything from celebrity styling, and different hairstyles to celebrity looks and what not!
Keep reading:-